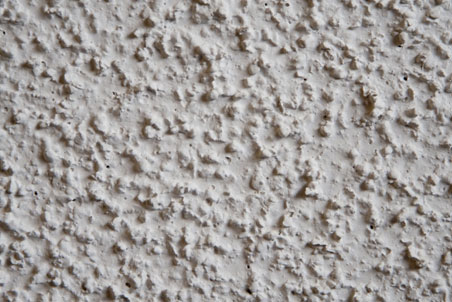
Although textured popcorn ceiling went out of style years ago, many older homes – and some new ones – continue to be built with popcorn ceilings. While removing popcorn ceiling isn’t a difficult process, it’s a messy job that requires hard work and special safety precautions. If your home was built before 1980, the popcorn ceiling should be tested for asbestos before removal. To test for asbestos, use a putty knife to scrape a small amount into a sealable plastic bag and send the sample to an approved testing service. If your popcorn ceiling contains no traces of asbestos, use the below information to safely and efficiently remove the “popcorn” from your ceiling.
What You’ll Need
Before you start removing your textured ceiling, it’s important that you have the right tools. Without the proper equipment, removing popcorn ceiling will prove to be difficult. Here’s a list of equipment you’ll need for the job:
- Plastic sheeting
- Rosin’s paper
- Painter’s tape
- Rags
- Putty knife
- Pump up sprayer
- Liquid dishwashing soap
- 6” or wider floor scraper
- Mesh sanding pad with handle
- Drywall joint compound
- Drywall joint tape
- Dust mask or respirator
- Coveralls
- Eye protection
Prepare the Room
Since you’ll be using a lot of water in this DIY project, you’ll want to turn off the electricity and check it with a circuit tester. Proceed to remove all furniture, such as bath vanities and other removable fixtures, and ceiling light fittings from the room. Tape small pieces of plastic over each electrical outlet, and cover the floor with the plastic sheeting. For extra protection, extend the floor sheeting about a foot or so up the wall. From there, secure plastic sheeting along the walls with painter’s tape, and roll out a layer of resin paper on the floor.
Once the room is covered in plastic and protected against stains, it’s time to spray and scrape the ceiling.
Spray and Scrape the Ceiling
Fill the pump sprayer with warm water and 2-3 tablespoons of liquid soap per gallon of water. Saturate a 4-6 foot square section of the ceiling with the solution; saturate it enough to loosen the popcorn, but not so much that it damages the drywall underneath. Wait 15-20 minutes for the solution to be absorbed and use a floor scraper to gently scrape away the popcorn texture. If the popcorn isn’t coming off relatively easily, spray it again and try waiting longer for the solution to be absorbed.
Finishing Touches
Once the popcorn ceiling is removed, you may notice high spots, gauges, or visible nails and screws in your ceiling. Hammer any visible nails below the surface, and cover them with a joint compound. Once the repair work has dried, sand the ceiling with a long handled mesh sanding pad. Just be sure to only sand the high spots, as too much sanding will damage the ceiling. The final touch is to prime and paint the ceiling with a latex ceiling paint. Once dry, remove the plastic and move any furniture back into the bathroom.