Remodeling a room in your home can be a challenging and complicated process. Usually, you’ll have to perform a significant amount of demolition before you can rebuild, and it’s important to know how to do this effectively so you won’t cause any unwanted damage. In regards to the bathroom, one of the most puzzling parts of the remolding process is how to remove a vanity. Typically, a bathroom vanity is sealed and secured to the actual structure of the bathroom, including the plumbing, which can make removal especially tricky. With these basic tips, you’ll be on the right track towards properly removing your vanity.
Water Supply
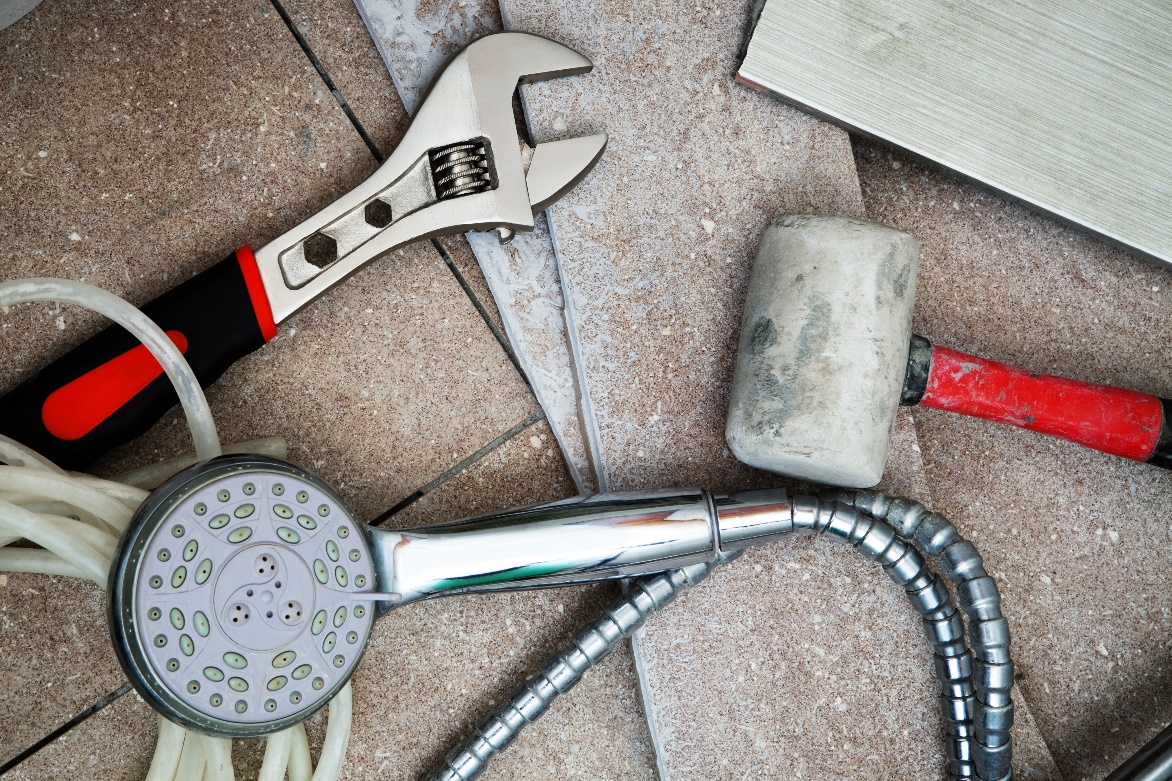
First and foremost, you’ll need to shut off the water supply before you can remove the vanity. In order to do this, you’ll need to reach underneath the sink and turn the hot and cold-water shut-off valves. Next, you’ll want to disconnect the water supply lines by using a wrench to remove the nut that holds the water supply line to the shutoff valve. This process can get somewhat messy, so it’ll help to have a bucket close by. Finally, you’re going to need to disconnect the waste drain. This can be done either by hand or by using a wrench or pliers, depending on the material of the waste drain, which will typically be either PVC pipe or chrome.
Remove From Wall
Now that you’ve taken care of the water supply, it’s time to remove the vanity from the wall. In some cases, you’ll need to start with the mirror. If the mirror rests on the vanity counter top, then removing the mirror first will be necessary, as it can crack when the vanity is removed from the wall. Once this has been addressed, you’ll want to detach the vanity counter top and cabinet by using a utility knife to cut through the caulk joint adhesive that holds the vanity to the wall. It’s important to be both cautious and patient during this process, as you’ll want to avoid cutting into the drywall. The goal here is to carefully undo the attachment between the vanity itself and the wall of your bathroom, as well as between the vanity top and cabinet.
Take Apart
At this point, all that’s left is the removal of the main components of the vanity from the room. First, you’ll remove the vanity top from the sink base. Usually, this will be a fairly easy process and the top will be removed smoothly with the adhesive cut. However, in some cases, the vanity top will be attached to the bottom by clips, which you’ll need to loosen before removal. Once the vanity top has been disconnected from the base, it’s time to remove the sink base cabinet. Check to see where the cabinet is attached to the wall, which is generally done with screws or nails, and carefully remove them. Once you’ve done this, you should be able to remove the sink base cabinet from the wall with ease.
Once you’ve hauled out the vanity top and bottom pieces, just plug up the drain pipes, scrape off any excess caulk, and you’ll be all set. With these tips, you can be well on your way to properly removing your bathroom vanity in time to begin your remodeling process. Good luck!