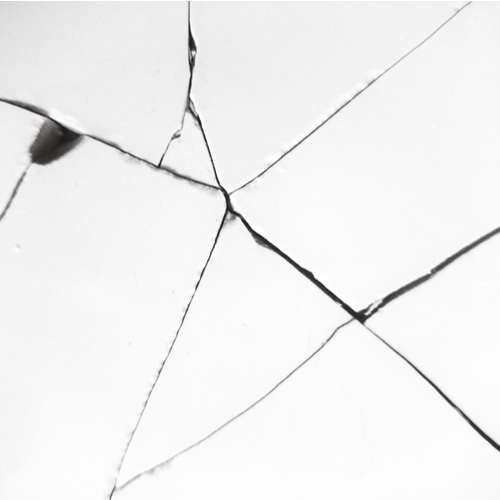
The cost to repair cracked shower tiles can be quite high — $100 or more depending on how much needs to be replaced and the expenses of this type of labor in your area. Cracked shower tiles are a common problem. As tiles age or take damage over the years, cracks sprout in the grout or tiles. Sometimes, the damage might be the result of an impact — dropping a heavy item on a shower floor, for instance.
Whatever the case may be, cracks in shower tiles will let moisture through the walls or subflooring, which causes damage with time. It’s important to get those cracks fixed quickly. Fortunately, it’s a job you can easily do yourself.
Here’s a step-by-step guide to show you how to fix broken tiles in a bathroom quickly and cost-effectively.
Tools and Supplies
First, there are some items you’ll need to gather before learning how to replace cracked bathroom tiles:
- Hammer
- Flat chisels
- Grout saw
- Margin trowel
- Mixing trowel
- Grout trowel
- Containers for mixing grout and thin-set mortar
- Rags or grout sponges
- A bucket for cleanup
- Thin-set mortar
- Replacement tiles
- Grout
You may also need a drill with a masonry bit if you have narrow grout lines, along with cold chisels slightly larger than the drill bit.
For the tiles and grout, match the colors by finding shades and styles closest to what is present in the bathroom. If there is already sanded grout in a beige shade, then that’s what you’ll want to use when replacing the grout, for example.
Repairing Cracked Bathroom Tiles
Whether these tiles are in the shower, on the floor or maybe as a backsplash behind the vanity, the process is the same:
- Start with the grout saw, which is a small hand tool that allows you to remove grout lines. Remove the grout from around the cracked tiles.
- Once that’s gone, use the chisels in an appropriate size — smaller if you’re replacing smaller tiles and larger to replace larger tiles. Work a flat chisel into a grout line behind the cracked tile. With the hammer, tap the chisel until the tile lifts or breaks away from the old mortar.
- This is where the drill, masonry bit and cold chisels may come in handy. If grout lines are narrow, you might not be able to fit a flat chisel into them without damaging neighboring tiles. To get around this, use the drill to make several holes in the center of the cracked tile. Then, use the hammer to drive the cold chisels into the drilled holes. This should shatter the tile, allowing you to lift a few small pieces away. Then, you’ll be able to use flat chisels for the rest of the broken bits of tile.
- Next, you’ll notice a layer of mortar beneath where the tile used to be. Again, use flat chisels to remove as much of this mortar as possible. With a vacuum or broom, clean up dust and debris, then it’s time to start installing the new tile.
- Mix thin-set mortar according to manufacturer instructions, and use the margin trowel to spread it in the space in which you’ll be laying new tile. Also spread some of the mortar on the new tile, then lay it in place. When the tile is aligned perfectly, press on it firmly to level it and secure it into place. Refer to the manufacturer’s instructions to know how long to let the mortar dry.
- Once dry, repeat the grouting step. Again, consult the manufacturer mixing instructions for the grout. Once mixed, use the grout trowel to smush it into empty grout lines. When they’re filled, all that’s left is to get a bucket of clean water and rags or grout sponges to remove the excess grout. Let the grout cure, and apply any sealants as recommended by manufacturer instructions.
That is how to fix cracked bathroom tile! It’s a simple job to do yourself. Since the mortar and grout might need a day to cure, it’s also a good time to upgrade bathroom fixtures. If you’re looking for new fixtures, be sure to check out the selection at Modern Bathroom. Whatever style or look you’d like to achieve, we have the perfect product.