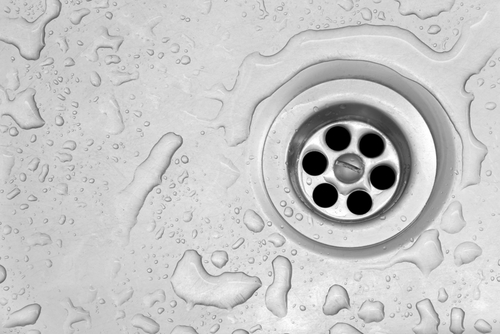
Leaky sink drains are one of the top causes of bathroom floor damage, right after water damage caused by toilets and showers. What’s more, a dripping sink drain — unnoticed for weeks or months — can ruin the vanity, cause mold and mildew issues, and even seep into the wall behind the sink.
However, those aren’t the only reasons to replace bathroom sink drains. If you decide to replace the sink, then be sure to replace the drain plumbing, since the old plumbing doesn’t always go back together without developing new leaks. Old sink drains are another issue, one that is bound to eventually cause water damage in bathroom walls, floors and cabinets.
In fact, if you have a metal sink drain that appears rusty or corroded, or a plastic drain with lots of grime around the fittings, that is a good indication that the drain should be replaced. These are signs that seepage is happening, and even if it isn’t enough to cause damage, it will likely worsen with time.
Replace Your Bathroom Sink Drain Plumbing in 7 Steps
No matter what your reasons are, if you want to replace bathroom sink drain pipes, we’ll show you how:
1. If your drain has a pop-up stopper and you need to remove it, take a look underneath the sink.You’ll see the stopper lever, which is connected to the drain on one side, and to a strap that connects to the faucet pull on the other side. The stopper lever fits through one of the holes in the strap, and is held in place by a simple spring clip. Unfasten the spring clip and slide the stopper lever out of the strap. Then, you can undo the large nut that fastens the top of the drain to the bottom of the sink.
If you don’t wish to remove the stopper drain, loosen the nut that attaches the rest of the drain assembly to the stopper pipe, then slide the drain pipe off the stopper pipe. If the bathroom sink doesn’t have a stopper drain (which is rare), you can simply remove the nut that connects the drain to the base of the sink.
2. Locate the drain stub, which is the part of the drain that leads into the wall or floor. Loosen the nut that attaches the drain pipe to the drain stub, then slide the drain out of the stub. Here are a few tips to make this process easier:
- Be very careful not to apply too much pressure here because you can accidentally warp the drain stub, which makes it difficult to install the new drain without leaks. Loosen by hand if possible, or use gentle pressure with a pipe wrench or large pair of pliers.
- If you are working with a metal drain, and the nuts holding it together are seized, use spray-on lubricant on the fittings. Wait up to an hour for the lubricant to penetrate the threads of the fittings, then try loosening again.
- Since P-traps hold water, place a shallow pan or some towels underneath the drain as you remove it to catch spills.
3. At this point, you’ll need to do some cleanup. Make sure the drain stub doesn’t have any dirt, grime or leftover plumber’s putty on it. If you disconnected the drain from the base of the sink, then there will be old plumber’s putty left behind. Use an old credit card, soft putty knife or soft brush to clean both the sink and the threads on the drain stub.
4. To install a stopper drain, make sure to follow the instructions that come with it.Start by placing a bead of plumber’s putty around the drain hole in the base of the sink. Then drop the drain’s strainer through the drain hole so that it rests on the putty. From underneath, attach the tailpiece of the stopper drain by tightening the nut that attaches the tailpiece to the strainer. You can then drop the stopper into the drain; install the horizontal stopper lever; and connect it to the strap that is attached to the sink’s stopper pull.
5. Use a P-trap kit, which should come with all of the parts that you need:e.g., pipes, nuts to connect everything, and several beveled gaskets to prevent leaks at the joints. Start by sliding one of the nuts from the kit onto the stopper drain’s tail pipe, then slide a beveled gasket onto the tailpipe with the thinner side facing downward. Next, slide the P-trap onto the stopper drain, push the gasket into the top of the P-trap and tighten the nut.
6. The second part of the P-trap kit is the tailpipe that connects the P-trap to the drain stub.To install this, slide two nuts onto the tailpipe — one to attach to the P-trap and one to attach to the drain stub. Then slide a beveled gasket onto the tailpipe so that the narrow edge faces the drain stub. Slide the tailpipe into the drain stub, then line up the other end with the P-trap and tighten the nut. Then tighten the nut that fastens the tailpipe to the drain stub.
7. Once everything is put together, inspect the entire assembly and make sure that all nuts are tight.Hand tightening is perfectly fine. If you use a wrench or pliers, you may end up damaging the pipes and causing a leak. Then test the drain by running water for several minutes. If you spot a leak, you may need to tighten the leaky joint a little more.