Maybe the old toilet seat has cracked, or it looks worn and grimy. Perhaps you’d like to upgrade to something in a different color or style. Whatever the case may be, there’s no need to call a plumber just yet. Replacing a toilet seat is a simple project that you can accomplish with some basic tools. Read below for step-by-step instructions on how to install a toilet seat.
Tools You Will Need
There aren’t many parts needed for a new toilet seat — just the seat itself and some tools you likely have in the garage. You’ll need the following gear for this project:
- Tape measure
- Crescent wrench
- Screwdriver
- Oil or lubricant
- Hacksaw (optional)
These tools should be enough for any toilet seat replacement job, even if the original proves difficult to remove.
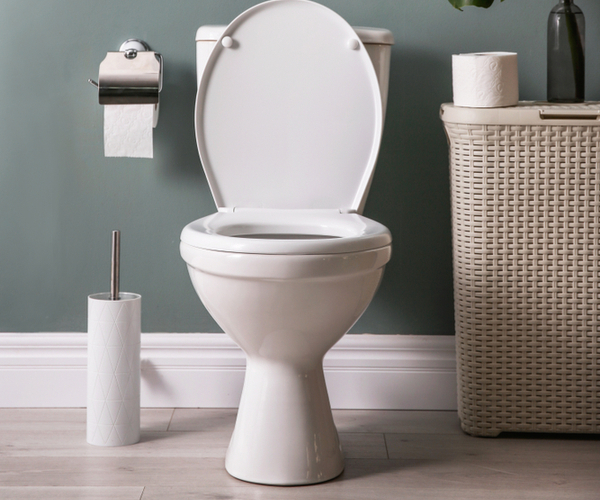
How to Fit a Toilet Seat
The first step is to buy a toilet seat that will fit — before you remove the old one. Most modern commodes come in standard sizes, so you should be able to find a replacement seat at a local hardware store. To make sure, use a tape measure to gauge the length and width of the current seat, then purchase one with the same dimensions.
Remove the Old Toilet Seat
This can be the most difficult part of the process, but even if challenges arise, it’s still an easy job to do yourself. Start by popping off any caps covering the bolts that attach the seat to the bowl. From there, use the crescent wrench and/or screwdriver to loosen the bolts until you can remove the seat completely.
Depending on the age of the seat and condition of the bolts, the bolts may be hard to remove. In this instance, spritz a little lubricant, wait a few minutes for it to penetrate the threads, and then try to loosen them again.
If that doesn’t work, use the hacksaw. Starting at the top of the toilet bowl, slide the hacksaw between the porcelain and the underside of the seat until the blade touches the bolts. Then, saw carefully until you’ve cut through the bolts. Clean up any metal or plastic shavings, and you’ll be ready to install the new seat.
Replacing a Toilet Seat
Once the old seat has been removed, installing the new one is easy! In most cases, the manufacturer will provide instructions, but if they don’t, the process is similar for all standard seats.
Simply lay the new seat on the toilet so that the bolts go through the holes at the back of the bowl. Then thread the nuts onto the bolts, using your fingers until you can’t tighten them further. Once the nuts are finger-tight, use the crescent wrench or screwdriver to fully secure the toilet seat. Caution: Take care not to over-tighten since this can strip the threads or crack the nuts. Stop as soon as the toilet seat is fixed in place and there is no unnecessary side-to-side movement.
There you have it! This is a straightforward job that can usually be done in less than an hour, whether you’re replacing the seat of an older toilet or a new one. Speaking of new toilets, if this is an upgrade that you’re considering, take a look at Modern Bathroom’s selection. There, you’ll find a variety of options to suit your needs.